How to Lock Cells in Excel Workbook
You can lock cells on your Excel worksheet to prevent other people from deliberately or accidentally changing, deleting, or moving data in a worksheet. You have put a lot of hard work in your spreadsheet and you do not want anybody to inadvertently make any changes to it. In this article, we will teach you how to lock cells in Excel exactly.
For example, you have the team status report worksheet, and you want the other team members only to add data in specific cells and not modify anything else you can lock certain cells in Excel. This worksheet protection makes only certain parts of the sheet editable, and other users will not be correct data in any other part of the sheet. This is not a security feature. It just prevents the users from reorganizing locked cells in the worksheet. You can lock the cells to prevent them from being modified with all the different versions of Microsoft Excel.
Part 1. How to Lock All Cells in Excel?
By default, all cells will be locked when you protect a workbook or spreadsheet. This means that they cannot be deleted, edited, or reformatted. You can easily protect all the data and formula in a single worksheet just by applying the protect sheet option. To protect the figures and data in all the separate sheets in a workbook, the protect sheet option must be applied individually to every sheet.
Part 2. How to Lock Specific Cells in Excel?
Excel has specific tools that protect certain worksheet elements which can be applied with or without a password. Protecting your valuable data from change is a two-step process.
- Locking specific objects or cells such as graphics or charts in a worksheet.
- Applying the Protect Sheet option.
All data and worksheet elements can be changed until both the steps are complete. Locked cells can be unlocked anytime by the person who locked the cells in the first place. With the following steps, you can learn how to protect and lock cells in Excel versions 2003, 2007, 2010 and 2016.
Option 1. Lock and Protect Cells in Excel 2010, 2013 and 2016
- 1. Open the Excel worksheet that has the cells you want to lock.
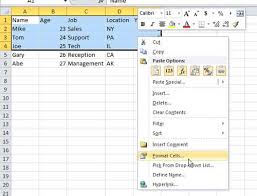
- 2. Right-click on the cells that you want to lock and select ‘Format Cells.’
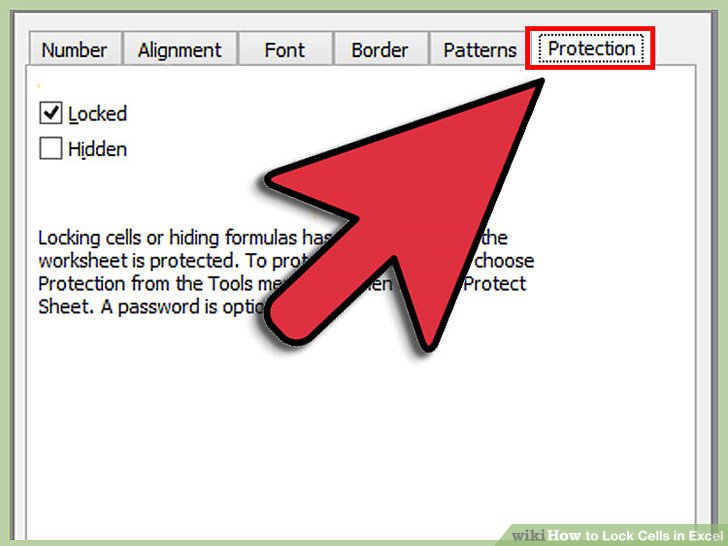
- 3. Click on the tab named ‘Protection.’
- 4. Tick the box next to tab labeled ‘Locked’ and click Ok.
- 5. At the top your Excel spreadsheet there is a tab labeled ‘Review,’ click on it next.
- 6. Look for the ‘Protect Sheet’ tab in the ‘Changes’ group and click on it.
- 7. Tick the box next to ‘Protect worksheet and contents of locked cells,’
- 9. Enter a password in the text box ‘Password to unprotect sheet’ and click Ok.
- 10. Retype your password in the text box ‘Reenter password to proceed’ and click Ok.


The cells that you selected are now protected and can only be unlocked by selecting them once more and entering your chosen password.
Option 2. Lock and Protect Cells in Excel 2003
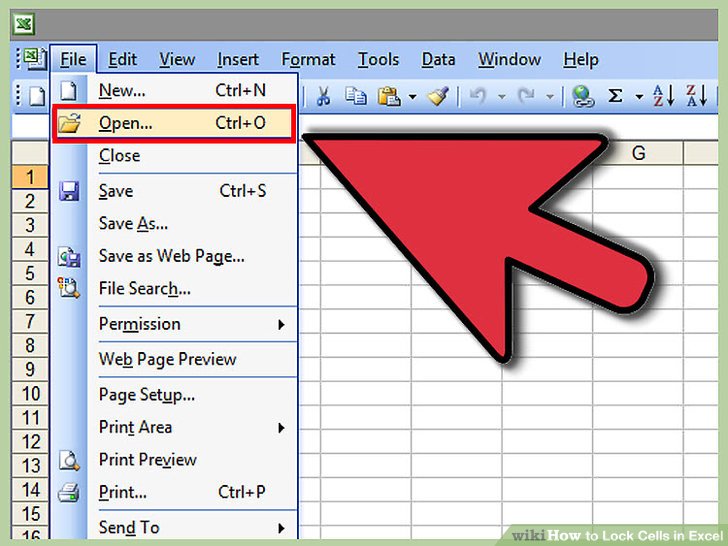
- Step 1. Open the Excel sheet that contains the cells you wish to lock.
- Step 2. Right-click on the cells that you have selected and from the drop-down menu select ‘format cells.’
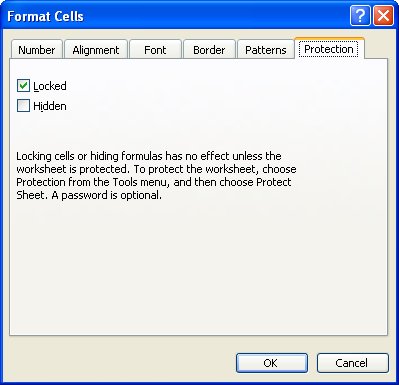
- Step 3. Click on ‘protection’ and put a tick against ‘Locked’ and then click Ok.
- Step 4. Open the ‘Tools’ menu at the top of your Excel spreadsheet and select ‘Protection.’
- Step 5. Click on ‘Protect Sheet.’ Tick the box labeled ‘Protect worksheet and content of locked cells.’
- Step 6. Type your password in the ‘Password to unprotect sheet’ and click Ok.
- Step 7. Reenter the password and click Ok.
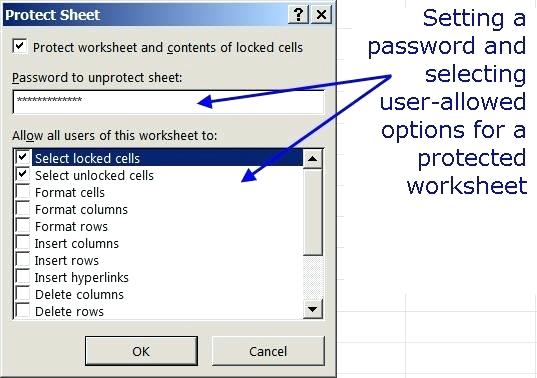
All selected cells are now locked and can only be unlocked by using your initial password. Ensure that you do not store any personal or sensitive information in the Excel spreadsheet. To ensure maximum security protection:
- Use modern versions of Excel with enhanced data encryption.
- Store your Excel files that have sensitive information on an encrypted hard drive.
- Protect the workbook structure to stop other users from moving, deleting, adding, or renaming your sheets.
- Use strong passwords to protect your sheets.
Extra Tips: How to Unlock Password for Microsoft Excel 97 - 2016
In the older versions of Excel anyone who had a basic knowledge of VBA could unlock the sheets easily. Although the recent versions of Excel use sophisticated methods of sheet protection they can also be easily unlocked.
If you have forgotten the password for your Microsoft Excel spreadsheet, you can still unlock it by using PassFab Excel Password Recovery. This program allows you to recover forgotten or lost passwords for all xls/xlsx files created by using any Excel version from 1997 – 2016 irrespective of their complexity and length. You can download this Excel xls/xlsx password recovery for free.

This mode allows you to unlock all lost or forgotten xlsx password online. You can select from 3 available types of attack. Brute-force attack, Brute-force with Mask and Dictionary attack. After choosing the attack set the Parameters accordingly.
- Dictionary Attack: if you already have a password dictionary, import the dictionary file as it will help you choose the right word from the dictionary.
- Brute-force with Mask Attack: in this method, you enter any numbers or characters that you still remember in the password.
- Brute-force Attack: this is a default option for Excel spreadsheet password recovery which checks all characters to find your password.

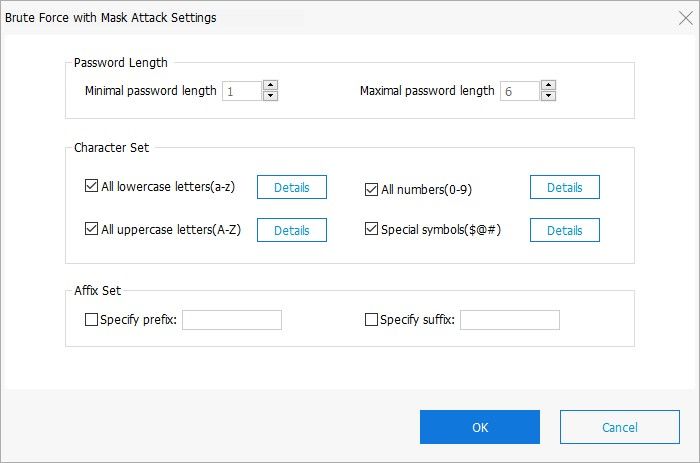
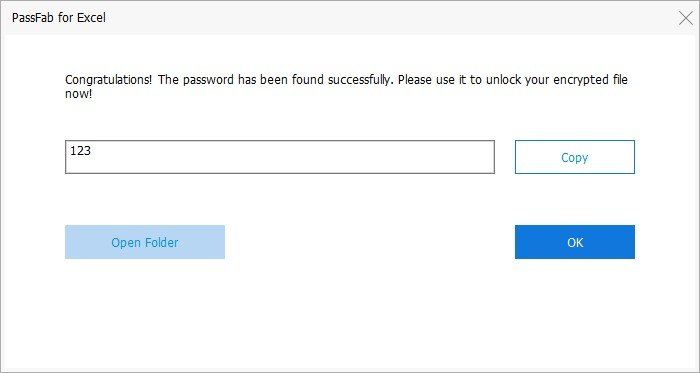
Click start to recover your lost password and finally your password will be found in a few minutes.

Summary
Worksheet protection feature in Excel is not a security feature because Microsoft Excel has a very easy encryption algorithm to protect the worksheet which is very easy to break. This does not mean that protecting your worksheet is totally pointless. When you lock cells, you safeguard your spreadsheet against accidental changes in its contents. For example, by using the ‘locking formula cells,’ you can prevent modification or inadvertent erasure of formulas. Therefore, it is best to lock your Excel spreadsheet to prevent the accidental tampering of data by other users.
Product-related questions? Speak directly to our Support Team >>
