How to Change Local Account to Microsoft Account in Windows 8.1
After Windows 8, Microsoft added a new type of account to its new operating system – Microsoft account, which is formerly known as Windows Live ID. So there are two types of Windows account: local account and Microsoft account. Need to switch from your local account to a Microsoft account, read on for step-by-step instructions to make this change happen.
Change Local Account to Microsoft Account
- 1. Log in with your Windows 8.1 local account.
- 2. Open PC Settings by swiping in from the right edge of the screen, tap "Settings" charm.
- 3. When the PC Settings window loads, select "Accounts".
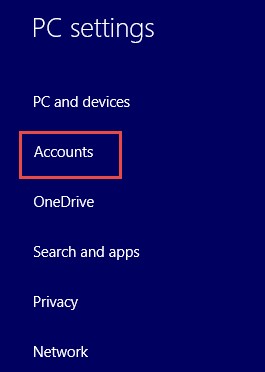
- 4. In the "Your account" part, click or tap the button of "Connect to a Microsoft account".

- 5. Please enter the current Windows 8.1 local account password in the following field and then click or tap "Next".
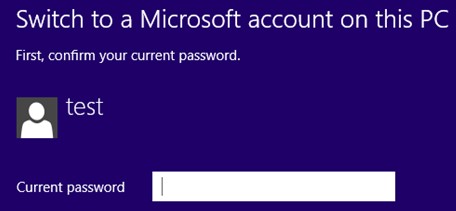
Here you gonna choose from the two options to perform according to your situation:
A. Already have a Microsoft account
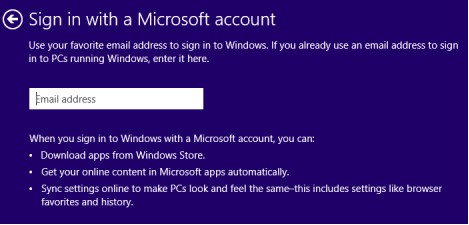
- 1. If you already have a Microsoft account, known as a Windows Live ID, simply enter the associated email address with your existing account and click or tap "Next".
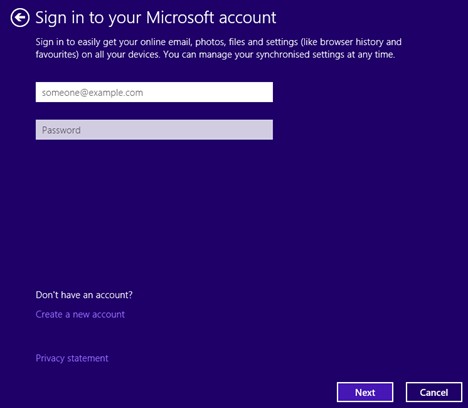
- 2. Enter your Microsoft account password and press "Next".
- 3. After that, you can choose to enable OneDrive on your account.
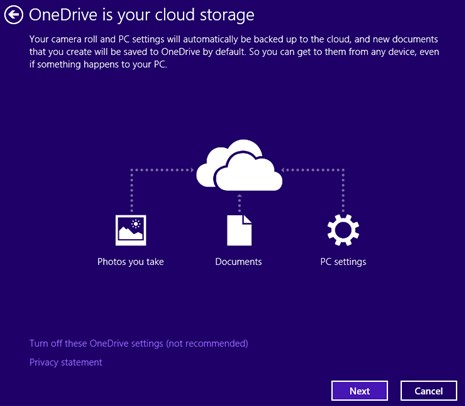
B. Have no Microsoft account
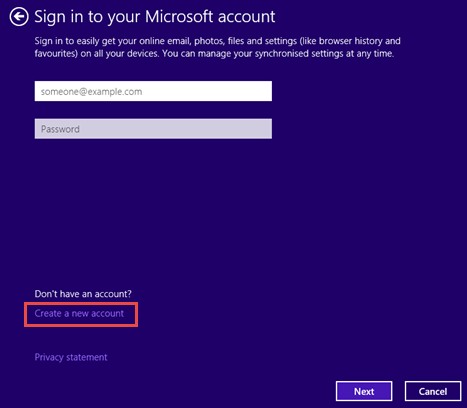
- 1. Click or tap the "Create a new account" link in the "Sign in to your Microsoft account" screen.
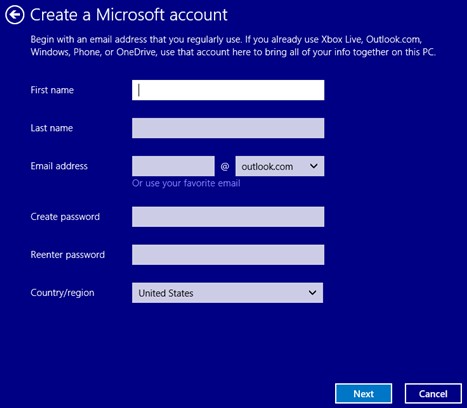
- 2. Fill in the following window with the required information for the new Microsoft account and press "Next".
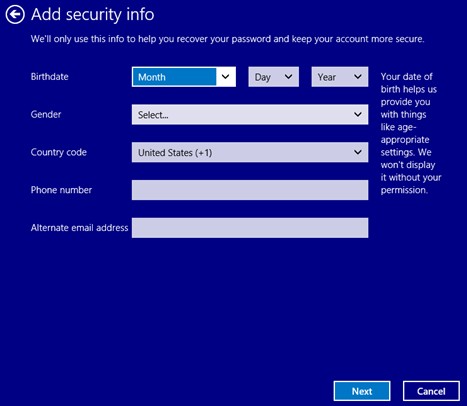
- 3. Next, fill in the security information and click or tap "Next".
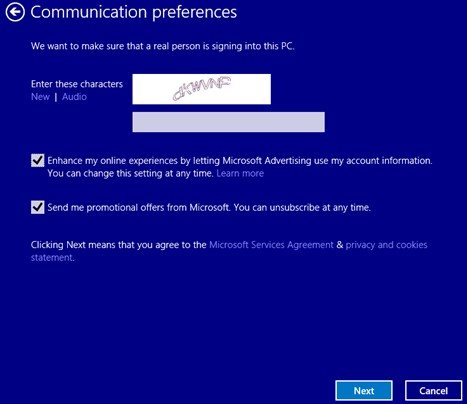
- 4. Next, verify you are a real person by typing the characters.
- 5. Here, your Microsoft account has been created and added.
Both Windows local account password and Microsoft account can protect your Windows 8.1 PC from being accessed by other malicious person. However, make sure to remember the passwords and always get access to your PC. If you forgot them, try to reset Windows 8.1 password first.
- Related Articles
- how to hack windows 8 password
- how to reset windows 7 password with usb
- how to enable administrator account in windows 7
comments powered by Disqus