
2013-06-20 12:40:39 / Posted by Michael Eric to Windows Tips
Follow @MichaelEric
For desktop users the biggest change Windows 8 brings is the File History feature, which performs a function similar to the Mac's Time Machine, letting you retrieve changed or deleted versions of files. Here in this article you'll be introduced to how to create a Windows 8 backup using the File History.
To start the File History backup, you should:
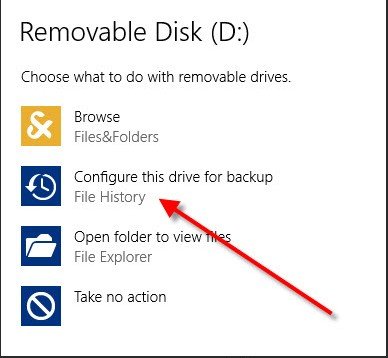
It's better to use an external or network drive instead of your PC's main hard disk to save the backup. Actually when you first plug in a USB drive in Windows 8, a notification panel will pop up asking you how you want to use it. Choose "Configure this drive for backup – File History."
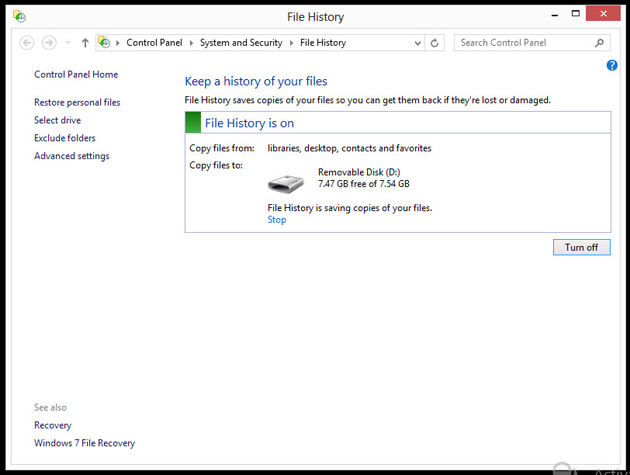
This will open File History's Select Drive dialog, tap OK. The main File History dialog will then display, with a green mark followed by the text "File History is on." You can turn it off with a button at the bottom of the dialog.
Now you can change the backup drive and exclude folders from being backed up. By default, File History saves snapshots of all files in your Libraries, Contacts, Favorites, SkyDrive, and the Desktop.
In Advanced Settings you have more choices. Here you can choose how often you want files backed up: The default is once an hour, but you can set from every 10 minutes to daily. You can also set how much disk space to devote to the backup—from 2 percent to 20 percent.
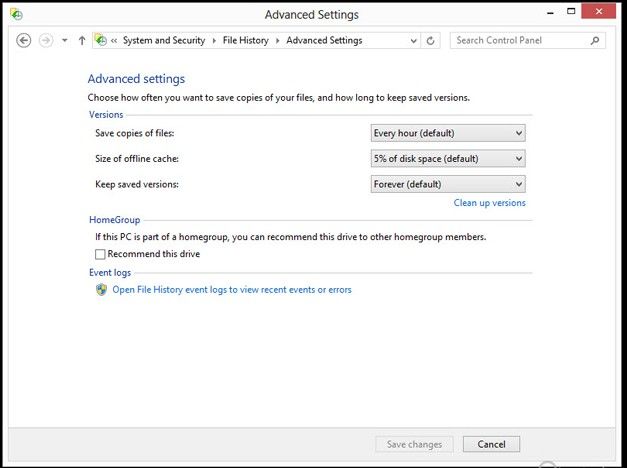
Another helpful option is the ability to set how long you want the system to retain backed up files. The default is "forever," you can make the backups go away after 1 month, 3 months, 1 year, etc.
It's easy to get missing files back using File History backup. Open the File History dialog (you can do so by just typing File History at the Start screen) and choose "Restore personal files." This will display all the covered folders—Contacts, Documents, and so on. You can restore whole folders or individual files if you drill down into the folders. The big green circular arrow will restore them to their original location, but you can also choose "Restore to" from a right-click menu or from the Settings gear to specify a target folder for the restored files.
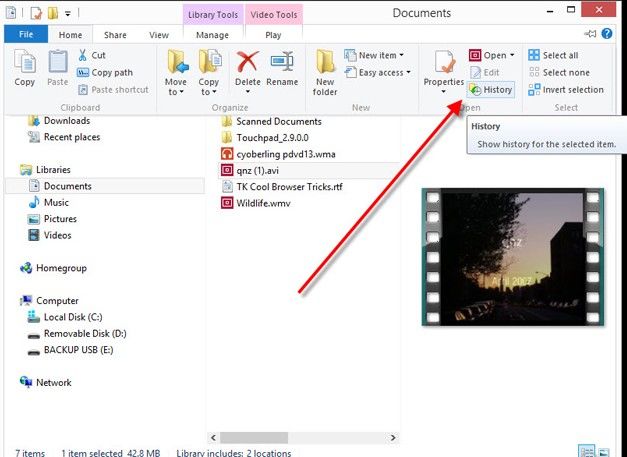
Besides the green circular arrow are back and forward buttons. If you click the back button, even deleted files will show up, available for restoration. You can also get to the File History dialog for restoring previous versions through Windows Explorer. With its ribbon set to Home, click on or tap the History button, at the bottom of the second-to-last column on the right. If you do this with a file selected, you'll be able to revert to versions of just that file; otherwise, you'll be able to retrieve the earlier versions of all files in the folder at once.
You can click Windows Tips to get more information on Windows, such as how to uninstall Windows 8 apps and how to remove Windows 8 login password.
Download SmartKey Windows Password Recovery Ultimate:

$44.95
It helps you to Quickly Recover, Remove or Reset Windows Local and Domain Passwords!


Recover all your Word, Excel, ppt, accesss office files password
Copyright©2007-2020 SmartKey Password Recovery. All rights Reserved.
 Follow us on Twitter