
November 02, 2016 10:23 am / Posted by Michael Eric to Windows Tips
Follow @MichaelEric
If password protected sharing is on, only those people who have your user account and password can access your shared files, folders and printers. To give direct access to shared files to others without being asked credentials each time on your computer, you can turn off password protected sharing for them. This tutorial will show you how to turn off password protected sharing on your Windows 10 PC. Please note that You should be an administrator of your machine to follow them.
Password protected sharing is a networking based feature in Windows 10, with which you can allow or block other users on your system to access shared files, printers and public folders provided that they sigh in to a password-protected local user account on the computer. By default, this feature is turned on and someone else having a user account on your system can go to Network pane in the File Explorer, to access the shared data.
Just follow the steps below to Turn off Password Protected Sharing in Windows 10
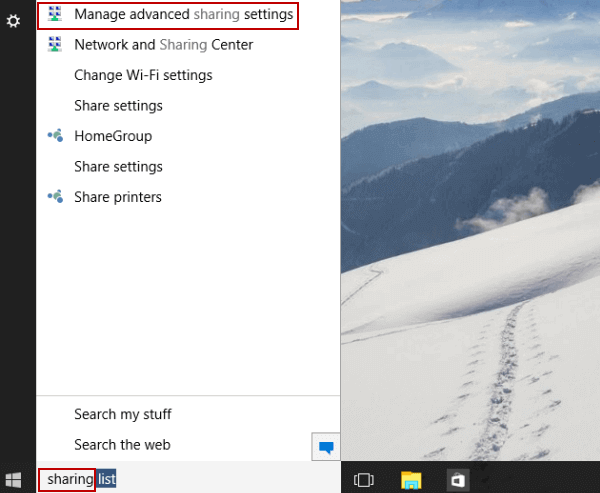
Step 1: Enter sharing in the search box and choose Manage advanced sharing settings from the result.
Step 2: Click the down arrow on the right of All Networks to expand the settings.
Step 3: Select Turn off password protected sharing or Turn on password protected sharing, and tap Save changes.

Some users have reported that cannot turn off password protected sharing after updated to Windows 10. Actually, all you need to do is find and remove the GUEST account password, so the system will allow password-protected sharing to be modified. Now follow this detailed tutorial to disable password protected sharing in Windows 10.
Step 1: On the Start screen, type control panel. Once the search results are shown, select Control Panel.
Step 2: Click User Accounts and family safety then choose User Accounts. After that, select Manage Another Account, then click the Guest Account.
Step 3: Select Remove the password for the Guest Account or Turn off the Guest Account.
If in case you will encounter issues in removing the password for the Guest account, follow the instructions below:
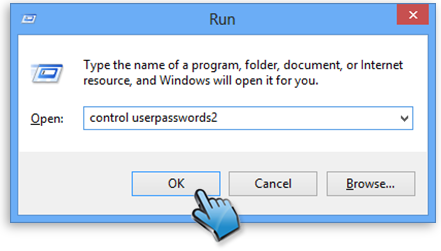
Step 1: Press the Windows logo + [R] keys to launch the Run window.In the Open field, enter control userpasswords2 then click OK.
Step 2: Select the Guest Account and click Reset Password Button.
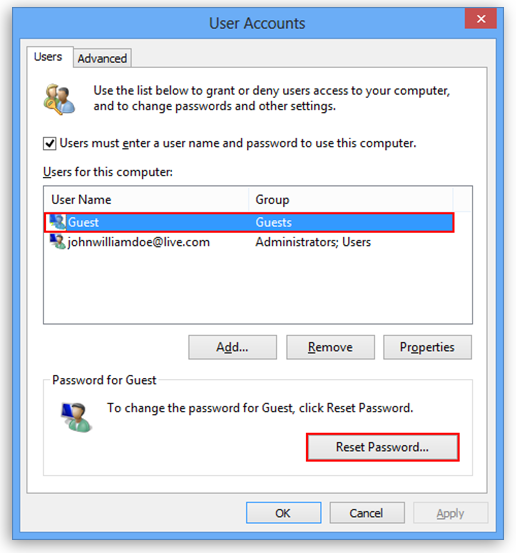
Step 3: Leave the New password and Confirm new password fields blank. Then click OK.
If you are not the admin of this PC and the PC has been protected with password, then you cannot access to, we highly recommend you to give Windows Password Recovery a free try, so that you could turn off password protected sharing feature in a barrier-free way.
Download SmartKey Windows Password Recovery Standard:

$44.95
It helps you to Quickly Recover, Remove or Reset Windows Local and Domain Passwords!


Recover all your Word, Excel, ppt, accesss office files password
Copyright©2007-2020 SmartKey Password Recovery. All rights Reserved.
 Follow us on Twitter