
April 26, 2017 10:23 am / Posted by Michael Eric to Windows Tips
Follow @MichaelEric
To prevent certain important files from being mistakenly altered, moved or deleted, Windows will hide them when exploring the files on computer. But what if we would like to view those hidden files? Is it possible to turn off provisionally the hidden files setting? In this tutorial, there are 3 ways will be shared to explain how to show hidden files in Windows 10/8.1/8/7.
Windows 8 and 10 both share the same Windows explorer design. If you want to show hidden files, open the Windows Explorer and open the folder where the hidden files reside. Now at the top you see fours tabs called File, Home, Share and View:
Here's how to unhide hidden files and folders in windows 10/8/7.
Windows 10/8.1/ 8:
Step 1: Swipe in from the right edge of the screen, then select Search (or if you're using a mouse, point to the upper-right corner of the screen, move the mouse pointer down, and then select Search). And type Control.
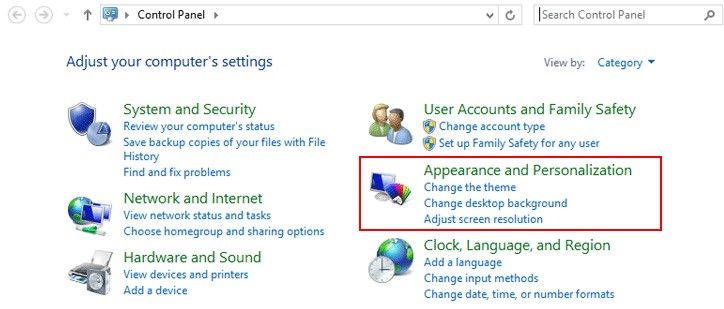
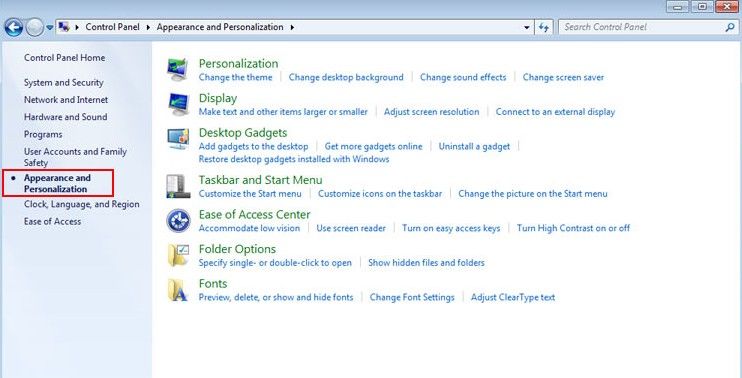
Step 2: Click on Appearance and Personalization link to open up , then select Folder Options from the search results. Select the View tab.
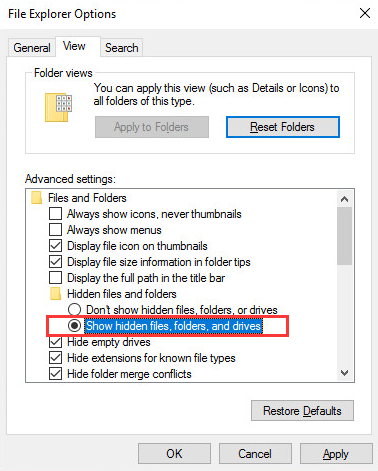
Step 3: Under Advanced settings, select Show hidden files, folders, and drives, and then select OK.
Windows 7 :
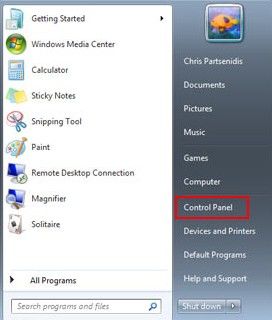
Step 1: Select the Start button, then select Control Panel > Appearance and Personalization.
Step 2: Select Folder Options, then select the View tab.
Step 3: Under Advanced settings, select Show hidden files, folders, and drives, and then select OK.
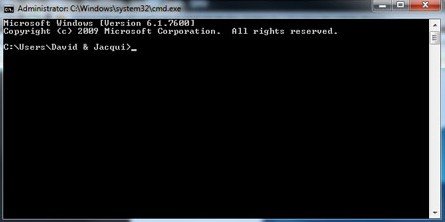
Another way to show hidden files in Windows 10/8/7 is using CMD. All you need to do is click the Start button in the lower left corner of your task bar. Type cmd in the search box at the bottom of the menu and click on Enter.
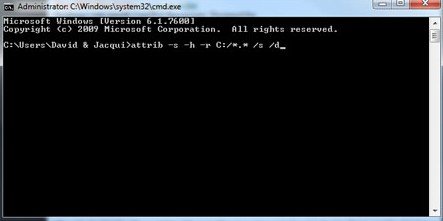
Type attrib -s -h -r c:/*.* /s /d and press Enter to execute the command. The command prompt window should look like this after you’ve typed the command:
Allow the command to finish executing (it may take a few minutes). When it’s done, close the command prompt window and check your desktop — your files, hidden by the virus, have been restored. You can use the same trick to restore files the virus may have hidden on other drives, including removable storage such as flash drives and external hard drives; just change the drive letter in the command above to the drive letter of the storage device with the hidden files.
Along with the aforesaid two methods, you can still view hidden file with the registry editor, here’s how:
Step 1: Click the Start button, then type regedit in the search box and press enter.
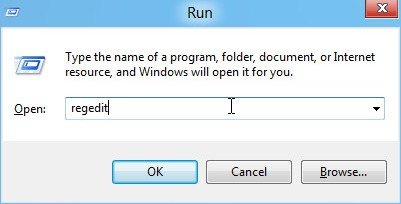
Step 2: Click Yes if prompted to confirm you are an administrator
Step 3: Find this key in regedit
HKEY_CURRENT_USER\Software\Microsoft\Windows\CurrentVersion\Explorer\Advanced.
Step 4: Go to the right side of the Advanced window, where the values can be seen
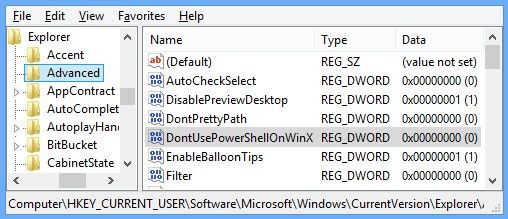
Step 5: Find the Value Hidden, right-click it and change it to 1.
In this article, we show you a concise guide on how to show hidden files in Windows 10/8.1/8/7. If you have forgotten login password before solving “how to show hidden files” issue, then we strongly recommend you to give Windows Password Recovery a free try, which can help you reset or remove password efficiently. Any other question, just leave in the comment section.
Download SmartKey Windows Password Recovery Ultimate:

$44.95
It helps you to Quickly Recover, Remove or Reset Windows Local and Domain Passwords!


Recover all your Word, Excel, ppt, accesss office files password
Copyright©2007-2020 SmartKey Password Recovery. All rights Reserved.
 Follow us on Twitter